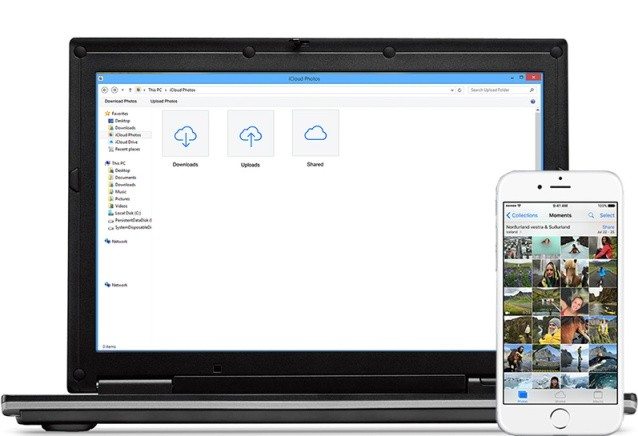
One of the most frequently asked questions by iPhone lovers is about how to transfer photos from iPhone to computer? Apple’s cloud storage service called iCloud makes sure that the pictures are readily available on computer as well as iPhone.
About iCloud
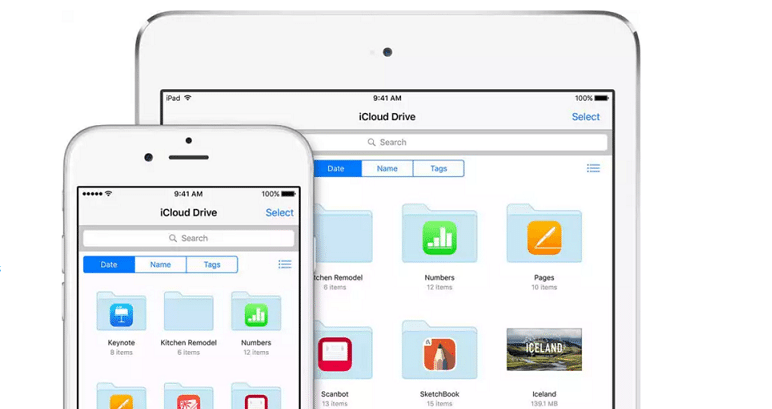
iCloud is a subscription service that helps one to manage documents across iPhone, iPad and Mac. It connects you and your Apple devices to keep all your photos, videos and documents stored securely. With iCloud, Apple ensures that you always have what’s most important to you irrespective of the device in hand.
Here are the steps to transfer photos from iPhone to computer using iCloud:
- Tap the Settings app on iPhone.
- Select iCloud and choose “Photo Stream”.
- Set Photo Stream toggle switch to On.
- Go to iCloud Control Panel download page from your Windows computer.
- Click Download and select Run. Select the option to agree to license terms and click Next and Install.
- Check Open the iCloud Control Panel and select Finish button.
- Enter your Apple ID and password and click Sign In.
- Now, select check box for Photo Stream and select Apply.
- The last step is to go to Picture Menu in your iPhone and select Photo Stream to view pictures.
That’s all! These were the easy steps to transfer photos from iPhone to computer.
Here are the steps to transfer photos from computer to iPhone:
- Go to iCloud.com
- Login with your Apple ID and click the Photos icon to access your photo library.
- Select the pictures you want to add to your photo library. Upload the pictures you want to add to your iPhone.
- Once the pictures are uploaded to the iCloud photo library, they will soon appear within the photos app of your iPhone.
That’s all! Your photos will be displayed in chronological order in your iPhone.
Share your thoughts on the story in the comments.


