Task Scheduler is a productive application in Windows that lets you schedule tasks easily and quickly. It helps to automate the workflow of your PC resulting in fast performance. You can create as many tasks as you can and these tasks are really very useful. For example, CCleaner, Windows Defender etc. are useful in boosting the speed of your computer. But, there is a limitation that Windows does not allow you to rename the task once it has been created.
As many times we felt the need to rename scheduled task in windows task scheduler, here is the way to do it. Just follow these steps and rename the desired tasks.
Step 1:
Search for task scheduler app from start menu or start screen.
Step 2:
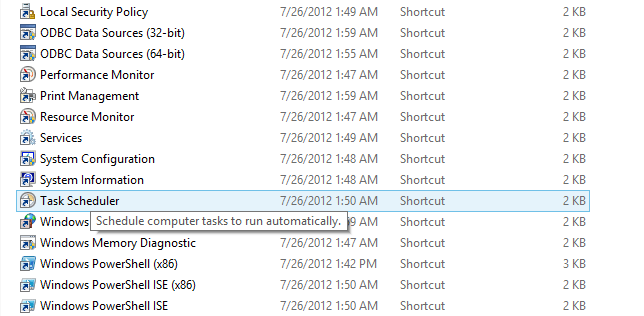
You will see a list of search results. Click on task scheduler option and open task scheduler. If you are using Windows 8, then you’ll need to follow these steps to open Task Scheduler:
1) Go to Control Panel.
2) Choose System and Security.
3) Now, select Administrative Tools.
4) From the list, find Task Scheduler.
Step 3:
Now, in the Task Scheduler, find the task that you want to rename.
Step 4:
Right-click on the task and choose Export option from the context menu. Windows does not allow you to rename scheduled task in a regular way and thus, you will not see Rename option in the context menu.
Step 5:
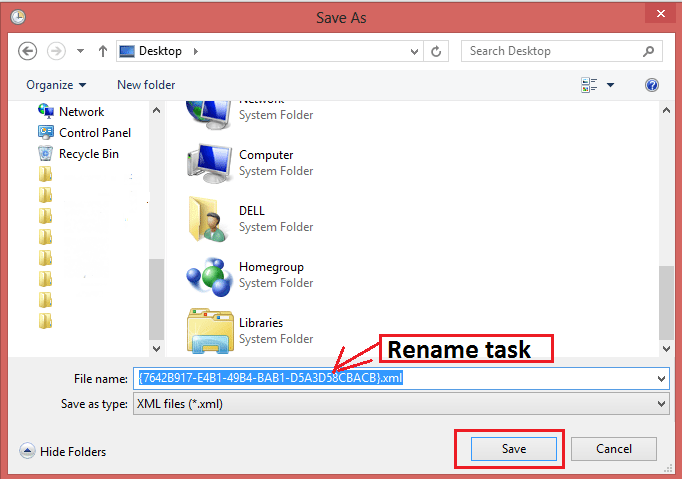
In the next step, you are required to choose the location where you want to store the exported file. Rename the file and click on Save option. The task you export will be saved as .xml file.
Step 6:
Now, come back to the specific task in Task Scheduler and select Delete option. A warning window will appear and click on Yes to continue.
Step 7:
Now is the time to import the file that you just exported. For this, in the right side pane, choose Import Task option. This will open a new window and click on Open to import the task back with the new name.
Step 8:
This will open the imported task in Create Task window. In the General tab, the first field is Name of the new task. You can keep the name you set for the exported file when you saved it on your computer or can fill a new one here. All other settings can be remained unchanged. Press OK.
Step 9:
Now, you’ll see the original scheduled task has been renamed.
That’s all! Though there’s no direct way to rename scheduled task but these steps were not that difficult.
Have something to add to this story? Let us know in the comments!
If you like our content, please consider sharing, leaving a comment or subscribing to our RSS feed to have future posts delivered to your feed reader.
Please follow us on twitter @CodeRewind and like us on facebook


