Google Chrome offers an amazing feature of synchronization. It lets you sync all your open tabs, bookmarks, browsing history, saved passwords, extensions and apps as well as custom settings across several devices. It is a very useful feature and you don’t have to transfer your data to other computers.
Here are the steps to enable sync in Chrome:
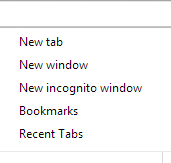
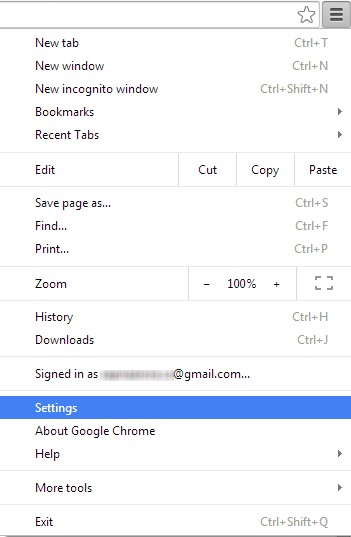
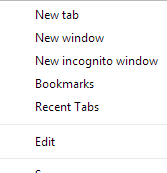
1) The first step is to go to Settings. When you open the browser, you will see a gear like icon in the upper right corner of the page. Click on it and select Settings.
2) Now, click on Advanced Settings.
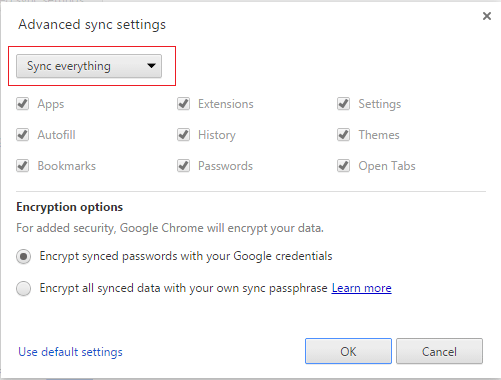
3) A new window will appear. Here, you can choose which settings you want to sync. You can also choose the option to Sync everything.
4) Click OK to save the changes.
Your changes to enable sync on Chrome will be reflected soon.
Manage your synced data
When you want to manage your synced data on Chrome and see what’s included in synced stuff, follow these steps.
1) Go to Settings.
2) Now click on Google dashboard link under Sign In.
3) A new page will appear with URL https://www.google.com/settings/chrome/sync/. This page shows your personalized browser information. It shows your synced apps, bookmarks, settings, passwords, autofill and lots more.
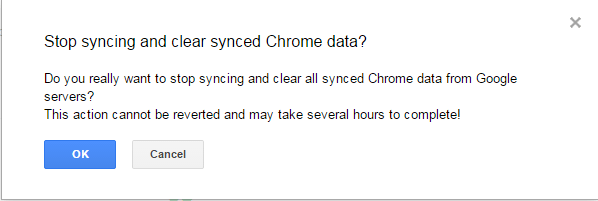
4) If you want to stop syncing and clear all synced Chrome data. Click on Stop and Clear at the bottom of the page.
5) You will get a pop-up window saying that this action cannot be undone. When you are very sure of deleting data from Google servers, only then choose this option otherwise, it is not recommended.
When you enable sync on Chrome, you are saved from the efforts and time involved in transferring your bookmarks, downloading extensions again or remembering your passwords.
Do you save passwords on Chrome? What has been your experience of using Chrome at multiple devices? Are you impressed with its sync features? Let us know your thoughts in the comments.

