Sometimes, it happens that certain text styles or fonts or their size are difficult to read. For example, a website may feature content in a cluttered script like Helvetica Narrow. Most people find styles like Arial or Verdana more comfortable to read. Yes, we cannot expect from every website to include font size and style to our choice. Fortunately, Google Chrome allows you to easily change font as per our choice. With simple settings, you will be able to customize fonts in Google Chrome and enjoy pleasant reading experience.
[leaderad]
Here is a simple guide to show you how you can change fonts in Google Chrome:
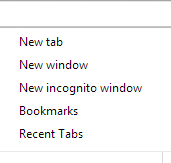
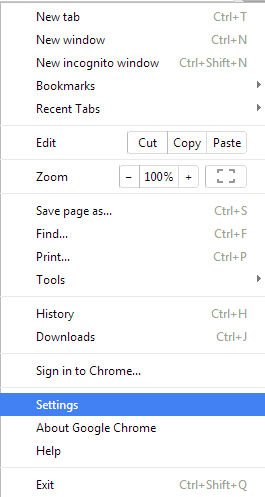
1) The first step is to go to Settings by clicking on the menu icon at the upper right hand side of Google Chrome.
2) Click on Advanced Settings and search for Web content. Here, you will see Customize Font settings as shown in the below screenshot.
3) When you click on Customize font, another window will appear and that will look like this screenshot. Here, you can choose the font type as per your choice. You can use the arrow keys to scroll through the font options or click to select from the drop down box. Click Done when you complete the font selection. It is easy to customize fonts in Google Chrome when you follow right steps.
4) In Web Content, there is an option to change the font size. Click on that and you will see the options for Very Small, Small, Medium, Large and very Large. You can click on any of these options and the font size will be changed automatically for every page you view on Google Chrome.
5) To permanently increase the font size of your Chrome browser, you can set the Page Zoom to the desired level. The default level is 100% and you can change it as per your choice. Some websites features small sized content and this function really comes handy in such situations.
So, there were the easy steps to customize fonts in Google Chrome, follow these and enjoy browsing on the internet. Happy Browsing!
Share your views in the comments!


