There are many plugins installed in your browser and some of which users don’t like and want to stop using on browsers such as Internet Explorer, Google Chrome and Firefox. We have here listed the process to enable and disable plugins in your browser. It is very easy to manage plugins in all browsers and here is a step to step guide to disabling plugins.
[leaderad]
Google Chrome
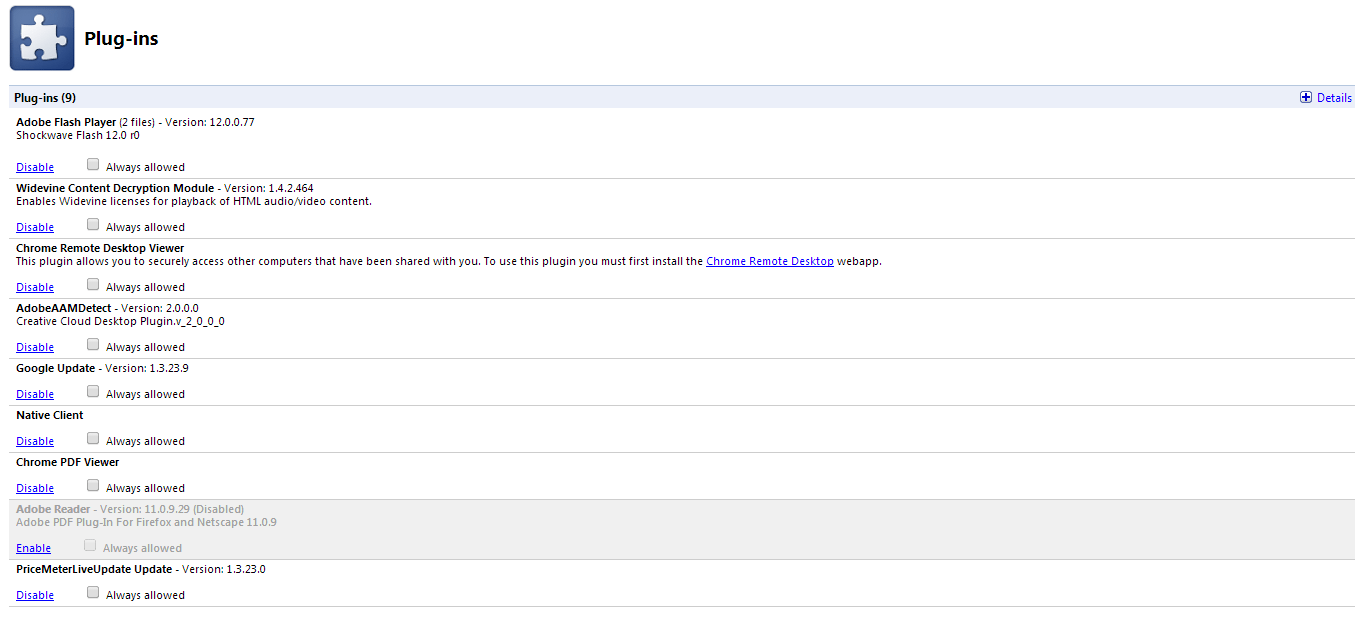
To view the plugins installed in Chrome, type chrome://plugins in your Chrome’s address go and press Enter. This page will tell you about the installed browser plugins in your Chrome. To disable a plugin, click on Disable link provided under that particular plugin. If you want to know more detailed information, you can click on DETAILS at the top right of the page.
You will see a check box before Always allowed and it is unchecked by default. This helps prevent websites from exploiting plugins. It is easy to disable plugins from Google Chrome.
Mozilla Firefox
In Firefox, it is simple to view your installed plugins. For this, Open Firefox Menu-> Click Add-ons-> Select Plugins or alternatively, you can press Ctrl + Shift + A to view add-ons and then select plugins.
You can disable plugins by clicking the Disable button corresponding to that particular plugins. Also, you can view more information about the plugin such as its file name by clicking the Options Button. Restart Firefox to complete the process.
Internet Explorer
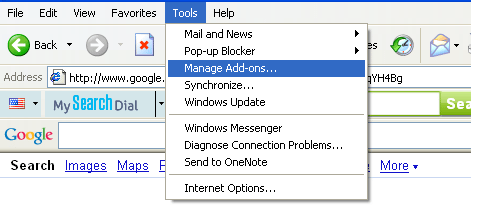
Internet Explorer allows you to view the installed and by default plugins under the Tools sections. Go to Tools -> Manage Add-ons.
You will get a complete list of plugins in Internet Explorer and by clicking on the name of a particular plugin, you will see the option to disable it as shown in the screenshot below. You can choose to disable plugins that you don’t want and it requires restart of the browser to reflect changes.
If you have something to add to this story, please share your views in the comments section below.


